Product Description
Caravan Floor Delamination Repair Kit Adhesive Damp Motorhome Static + Dowels
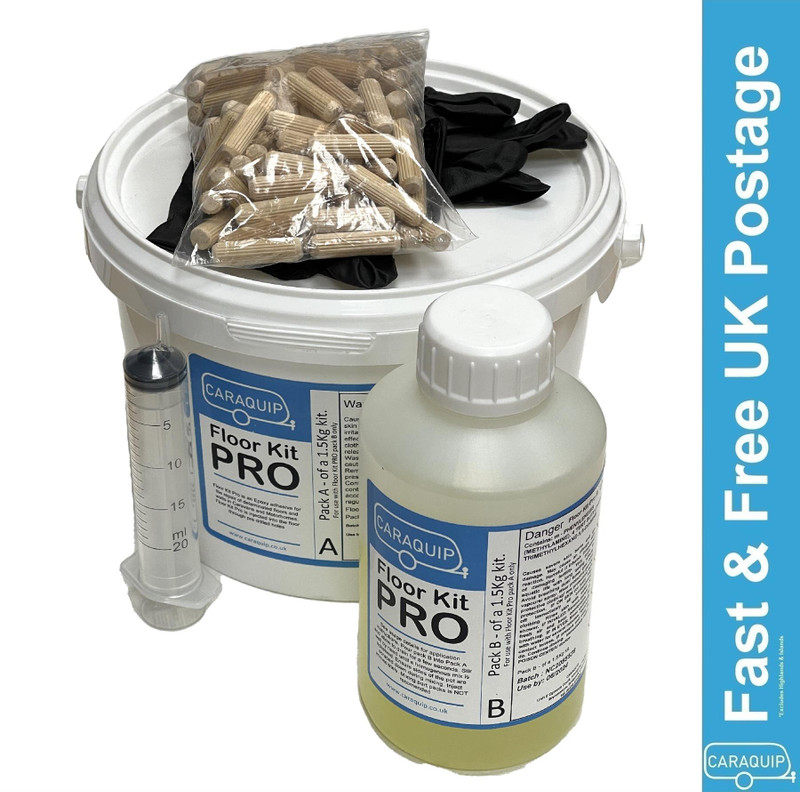
Delam Floor Kit Pro 1.5kg + 50 x Dowels + 1 x Syringe + 1 Pair Gloves
Modern caravan and motorhome floors are manufactured through a process of lamination, whereby a composite panel is created by bonding insulation between sheets of plywood.
Floor delamination occurs when the bond between the substrates fails, and the floor becomes 'spongy' as the insulation and the plywood are no longer held together as a structural unit.
If left untreated, friction between the substrates can wear away at the insulation forming a void.
Delam Floor Kit Pro is used for the repair of such delaminations in caravans, motorhomes, static park homes and commercial vehicles.
By drilling a series of holes through the top of the floor it is possible to inject the adhesive and the panel is then pressed or clamped until full cure has taken place, rebonding the floor substrates back together and filling the void to restore the structural integrity of the floor.
The resin has been designed specifically for application by injection through a syringe and flows readily to fill the void into which it has been injected.
Being a 100% solids material it will not shrink during cure, and being a two part system it will cure in totally enclosed spaces.
Delam Floor Kit Pro contains no solvents so it will not attack sensitive materials e.g. polystyrene, styrofoam.
Delam Floor Kit Pro is a low viscosity, self-levelling, fast cure epoxy based adhesive.
The product has a reasonable pot life for ease of use, but will be tack free overnight at 15°C, although lower temperatures will increase the cure time,
Delam Floor kit Pro will continue to cure at temperatures close to freezing point.
The low volatility of the Resins and curing agent mean that the kit will be of a low odour for greater user comfort.
How to fix a floor delamination
TIP! Ensure that all preparation work is completed before mixing the kit, the pot life of Floor Kit Pro is approximately 30 minutes at 15°C, which means after 30 minutes the viscosity of the mixed resin will have doubled as the components react to form a solid.
1. Remove any floor coverings and furniture in the affected area and ascertain the extent of the damage. Drill a series of holes with an 8mm drill bit through the top layer of plywood, in a diamond pattern with 250mm centres, to the edges of the delamination. Locate any cross bearers on the floor and mark them.
2. Vacuum the affected area to remove as much dust as possible from the void.
3. Mix the Floor Kit Pro components. Pour the entire B pack into the A pack bucket and stir well for at least 3 minutes ensuring the sides of the bucket are scraped down. Always wear gloves when working with chemicals.
4. Once suitably mixed and a uniform colour is achieved, immediately begin pumping the resin into the floor using the syringe supplied, starting at one end and working slowly in one direction. Once resin oozes out of the next adjacent hole, plug the hole being injected with an 8mm wooden dowel. Repeat the process until all of the holes have been treated and sealed off with a dowel.
5. If the floor has delaminated from the cross bearers, it can now be screwed down to them (before the adhesive cures).
6. Distribute some weight across the repair area for at least 3-4 hours until functional hardness has been reached. The full cure cycle for Tradeweld Floor Kit Pro takes 24 hours though the product is usually tack-free overnight.
7. Once the resin has cured the dowels can be sliced off with a sharp chisel and sanded down level with the floor and floor coverings and furniture can be replaced.
Important Notes – When using in very hot temperatures; ensure resin, mixing vessels, substrates and ambient temperatures are below 20°C or pot life can be drastically reduced. Floor Kit Pro has a specially controlled exotherm to keep heat build up to a minimum and to increase pot life. The mixed material will remain useable for at least 1 hour at 15°C.
TIP! If there is mixed resin left over in the bucket then care should be taken where the bucket is placed. A large deposit of epoxy resin left to cure in the bucket will get quite hot and may damage some surfaces. Epoxy resins that have been mixed in the correct ratio and fully cured can be disposed of as non-hazardous waste.


